

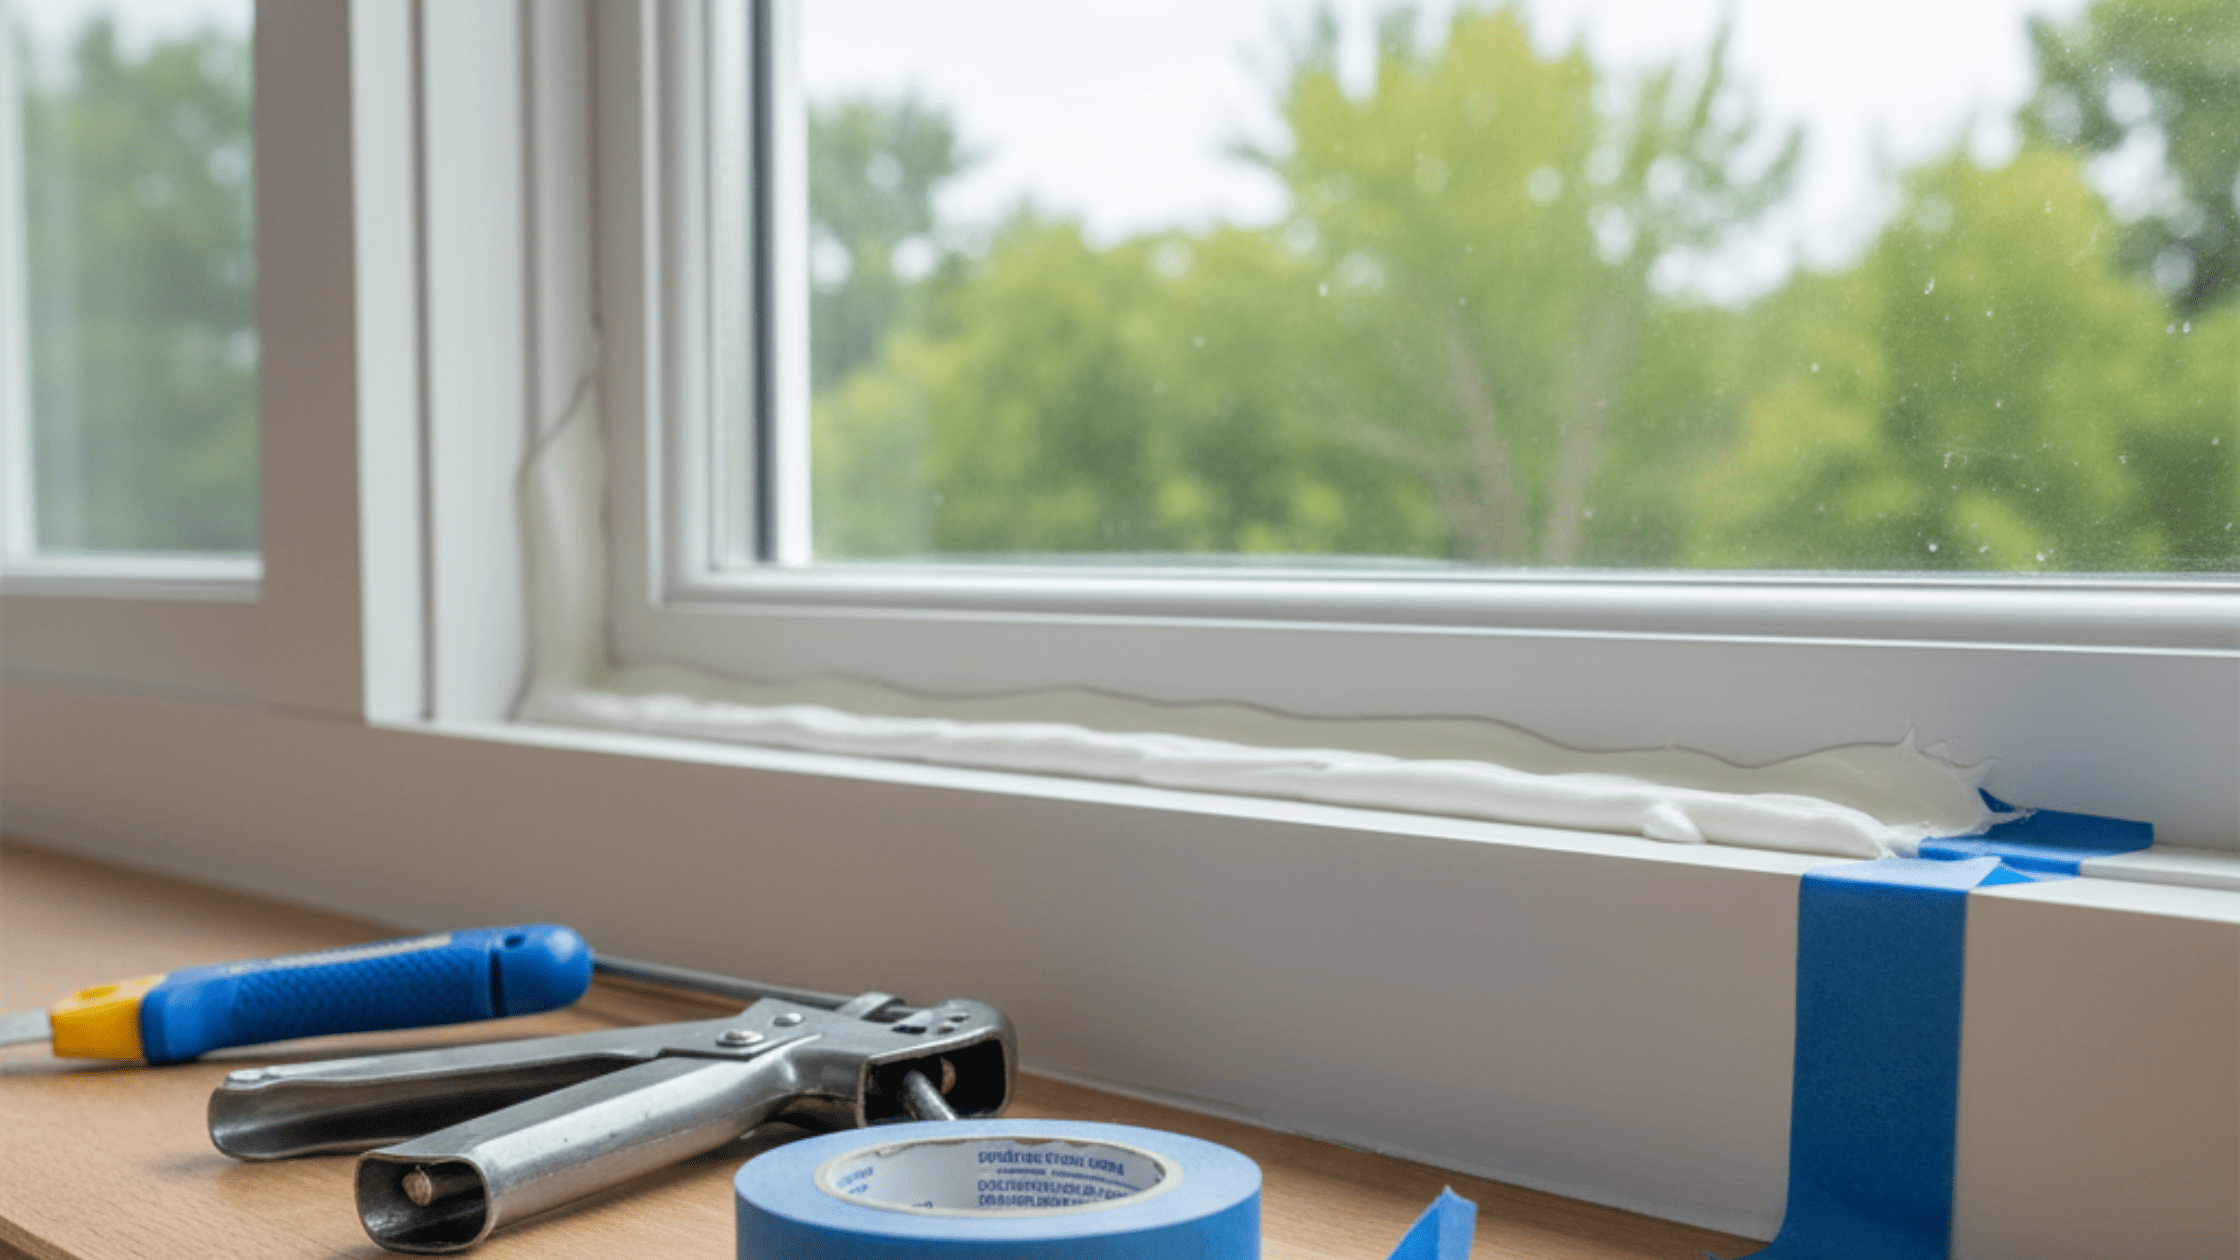
Window caulking, the process of sealing off cracks around a window with a waterproof sealant, is a simple job with a big pay-off.
A well-done caulking job can protect your home against moisture intrusion, drafts and heat leakage for many years. Completing this task now will make the transition much easier.
Before you begin, consider these common caulking mistakes so you can be sure to avoid them.
1. Not Getting the Right Product
When it comes to window caulking products, you get what you pay for. For long-lasting protection around your windows, choose a high quality caulk made from silicone or polyurethane.
100% silicone caulk or a mix of silicone and latex, is waterproof, flexible, shrink-proof and will last over 20 years. It is also commonly found in hardware stores. The downside of silicone caulk is that it cannot be painted and can give off a strong odour as it dries.
Polyurethane caulk will last from 10 – 20 years, can be painted over and adheres well. Polyurethane spray foams are heavy duty and tend to expand as they dry. This is a common option for exterior window caulking.
Less expensive options such as butyl rubber or oil or resin based caulks aren’t generally as flexible and won’t adhere to surfaces for as long. Resist the urge to save money on caulk.
2. Not Removing Old Caulk Remains
Caulk tends to harden as it ages, usually breaking away from its surface leaving moisture to accumulate beneath. Without sufficiently removing old caulk you risk leaving old moisture on the surface of the window. Use a putty knife or sharp tool to remove it.
To remove extra-hard caulk, you may choose to apply a caulk remover gel. Leave it on at least 2 – 3 hours to loosen caulk before scraping. Then clean the surface with a household cleaner or rubbing alcohol and ensure the surface is clean and dry before caulking.
Hint: to find out if you’ve missed any cracks, try the incense test. Hold a smouldering stick of incense against the edges of a window. If there’s a draft, the smoke will be blown out horizontally. If not, it will rise as normal.
3. Not Using the Wrong Applicator
The cartridge of caulk you buy from the hardware store isn’t designed to double as a tool for direct application. You’ll need a good quality caulking gun to dispense it properly. When shopping or a caulk gun, look for a model that has a comfortable grip and a smooth plunger rod.
Inexpensive guns that use a racheting plunger tend to apply caulk unevenly, making the job look messy. Cut the nozzle of the caulk cartridge to your desired bead size, pierce the inside seal, then insert into the caulking gun. Seal cracks with caulk at an even, consistent pressure, holding the gun at a 45-degree angle.
4. Using Too Much Caulk
If the crack you’re sealing exceeds 1/2 inch wide or 1/2 inch deep, don’t be tempted to simply add more caulk. Instead, fill the gap with a backer rod (a small segment of foam rope), to fill the gap before caulking over.
5. Skipping Steps
Tooling is the process of smoothing out caulk after it’s been applied. This important step ensures your job is effective and looks neat and professional. Your hands are often the best tool to use for this process. After applying a bead of caulk, run your finger along the bead to ensure it fills the gap.
Maintaining your windows is one way to ensure your home stays in peak condition through the seasons. We are the professionals you need to get the job done. Contact us today to see how we can help.